

Implantology For Modern Practice
Sinterex now offers Dental Implantologists the very latest guided surgery technology.
The patented Double Guide is 3D printed in resin or metal and is accurate, strong, and sterilisable. With our Surgical Guide, users have complete control over drilling whilst retaining visibility and the freedom to cool and irrigate.
Due to its patented contra-angle cap, the Guide is compatible with nearly all major implant brands.
ADVANTAGES
STERILISED
Metal Guides can be sterilised at 135C without any impact to fit or accuracy
STRENGTH
Guides do not bend under pressure or move once fixed in the patients mouth
VISIBILITY
The completely open structure allows a total view of the patient
IRRIGATION
Simultaneously apply cooling and irrigation whilst drilling
ACCESS
Maintain access to the patient gum whilst the guide is in place
CONTAMINATION
Avoid contamination caused by contact between drill and drill sleeve
COMFORT
Decrease the amount which the patient has to open their mouth
ACCURACY
Undertake flap-less surgery, hit the middle of narrow ridges
WORKFLOW
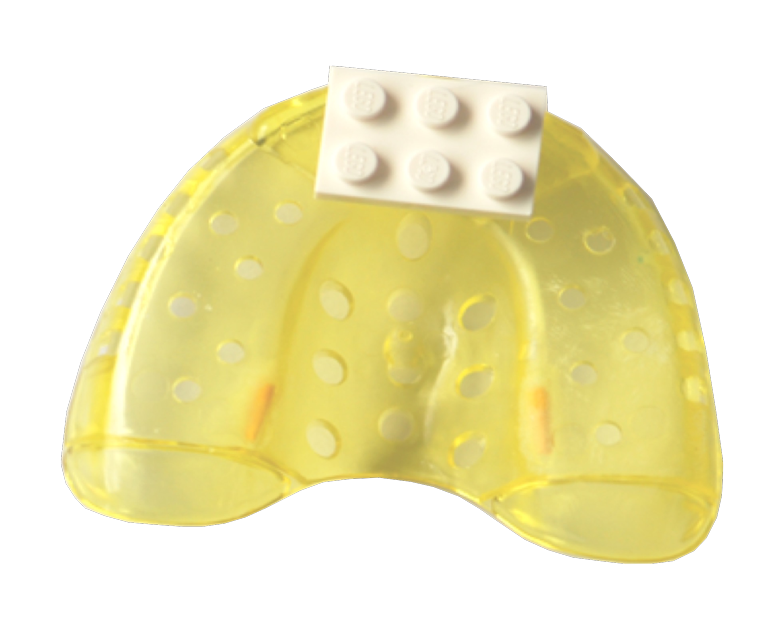
Take the patient impression
using our special
impression trays. Each tray
has a lego brick attached
to control for accuracy and
to support the successful
alignment of the digital files.
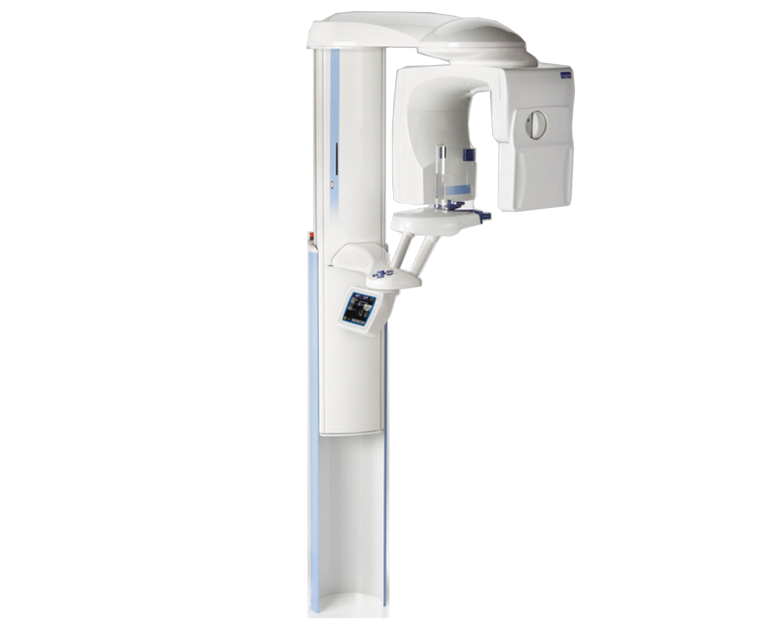
The patient continues
to wear the special
impression tray during the
CT scan. Incorporating
lego allows us to control
for scan quality and also
to correctly align all digital files.
Our dental experts then
review the data and check
that it is feasible for
implants to be placed. We
also check that the data is
of good enough quality for
guided surgery.
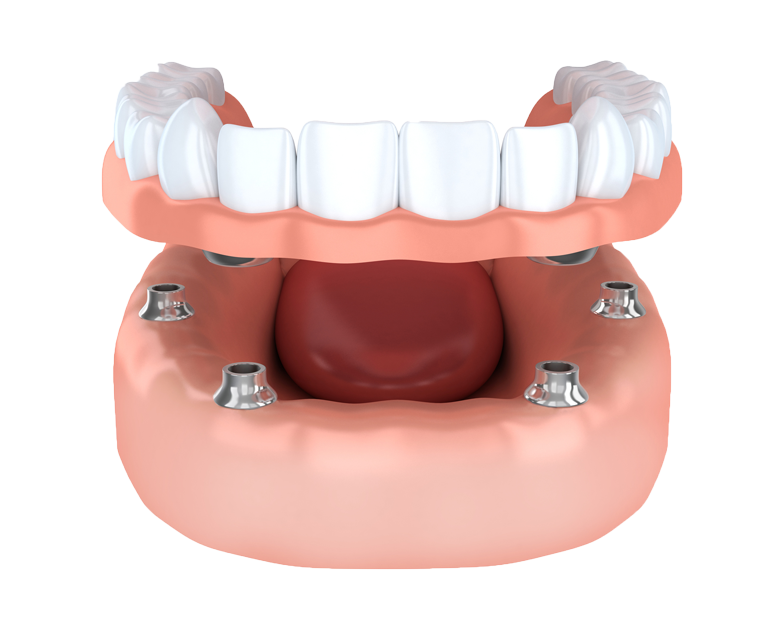
Next, your dental lab
creates a wax-up for patient
try-in. Once the wax-up
is finalised we scan and
incorporate this into the
digital data set which is
used for planning.
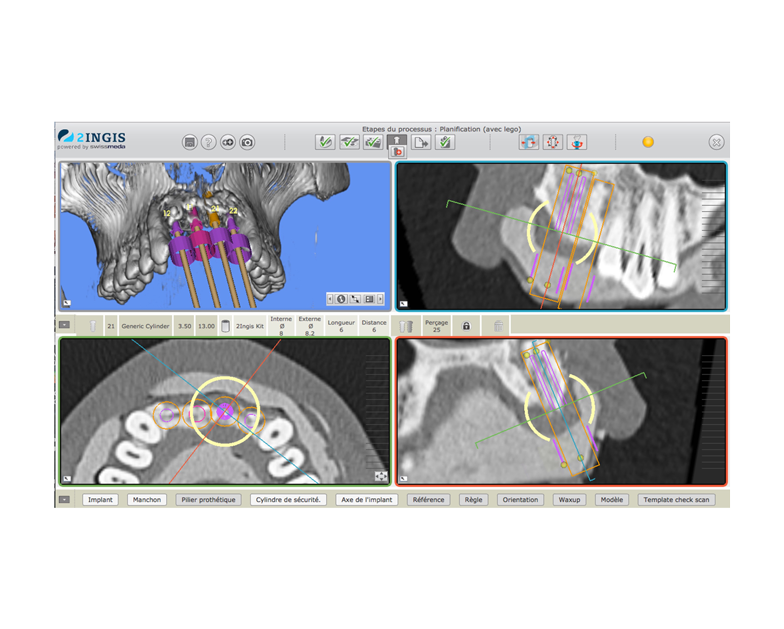
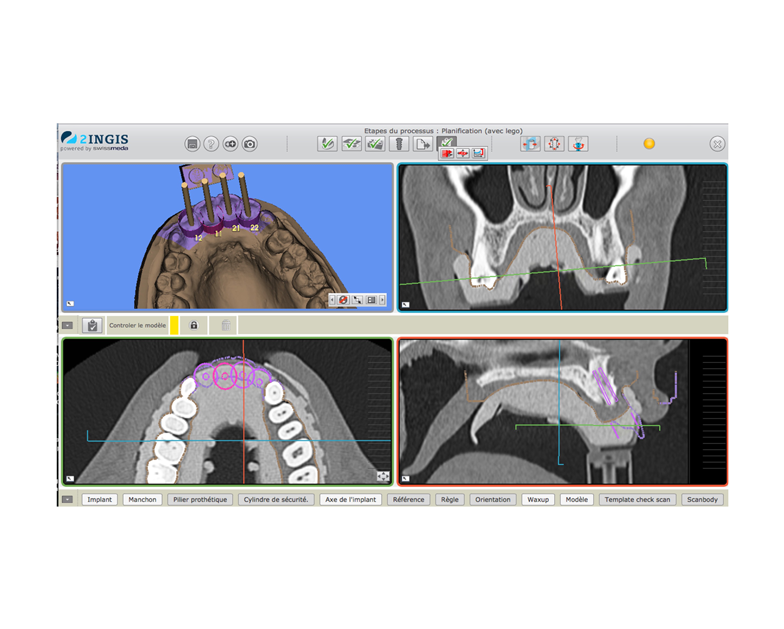
Using the CT data,
impression data, and wax-
up, our experts then create
a final plan for the surgery
and share it with you for
review and approval.
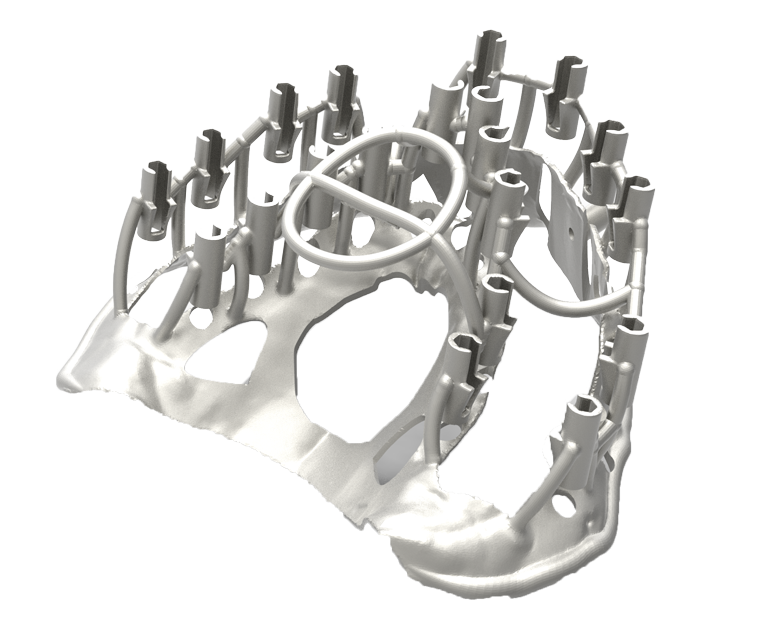
All guides are
manufactured in the UAE
using state-of-the-art metal
3D printing technology
and bio-compatible, FDA
approved, material.
TYPICAL SURGICAL PLAN
GUIDE PLACEMENT
GUIDE PLACEMENT
The guide is fixed
to the patients
teeth using
clasps or screwed
into jaw.
.
.
.
PUNCH DRILL
PUNCH DRILL
Using a punch
drill we can avoid
opening a flap.
A 4mm or 5mm
punch can be
used depending
on the diameter
of the implant.
FLAT DRILL
FLAT DRILL
A flat drill is used
to level the bone
preventing deviation
from the drill
path.
.
.
.
PILOT DRILL
PILOT DRILL
The initial opening
is made with a
pilot drill.
.
.
.
.
.
TWIST DRILL SHORT
TWIST DRILL SHORT
Twist drills of
various lengths
are used with the
variable guide
sleeves con-trolling
the drill depth.
.
.
CRESTAL DRILL
CRESTAL DRILL
A crestal drill is
used according
to the implant
diameter.
.
.
.
.
TWIST DRILL LONG
TWIST DRILL LONG
Twist drills of
various lengths
are used with the
variable guide
sleeves controlling
the drill depth.
.
.
BONE TREADER LONG
BONE TREADER LONG
To prevent excessive
insertion torque
the bone treader
should be used
with a max 30
rpm.
.
.
IMPLANT DRIVER
IMPLANT DRIVER
Screw in the implant.
.
.
.
.
.
.
.
RACHET DRIVER
RACHET DRIVER
Final placement
with the ratchet
driver.
.
.
.
.
.